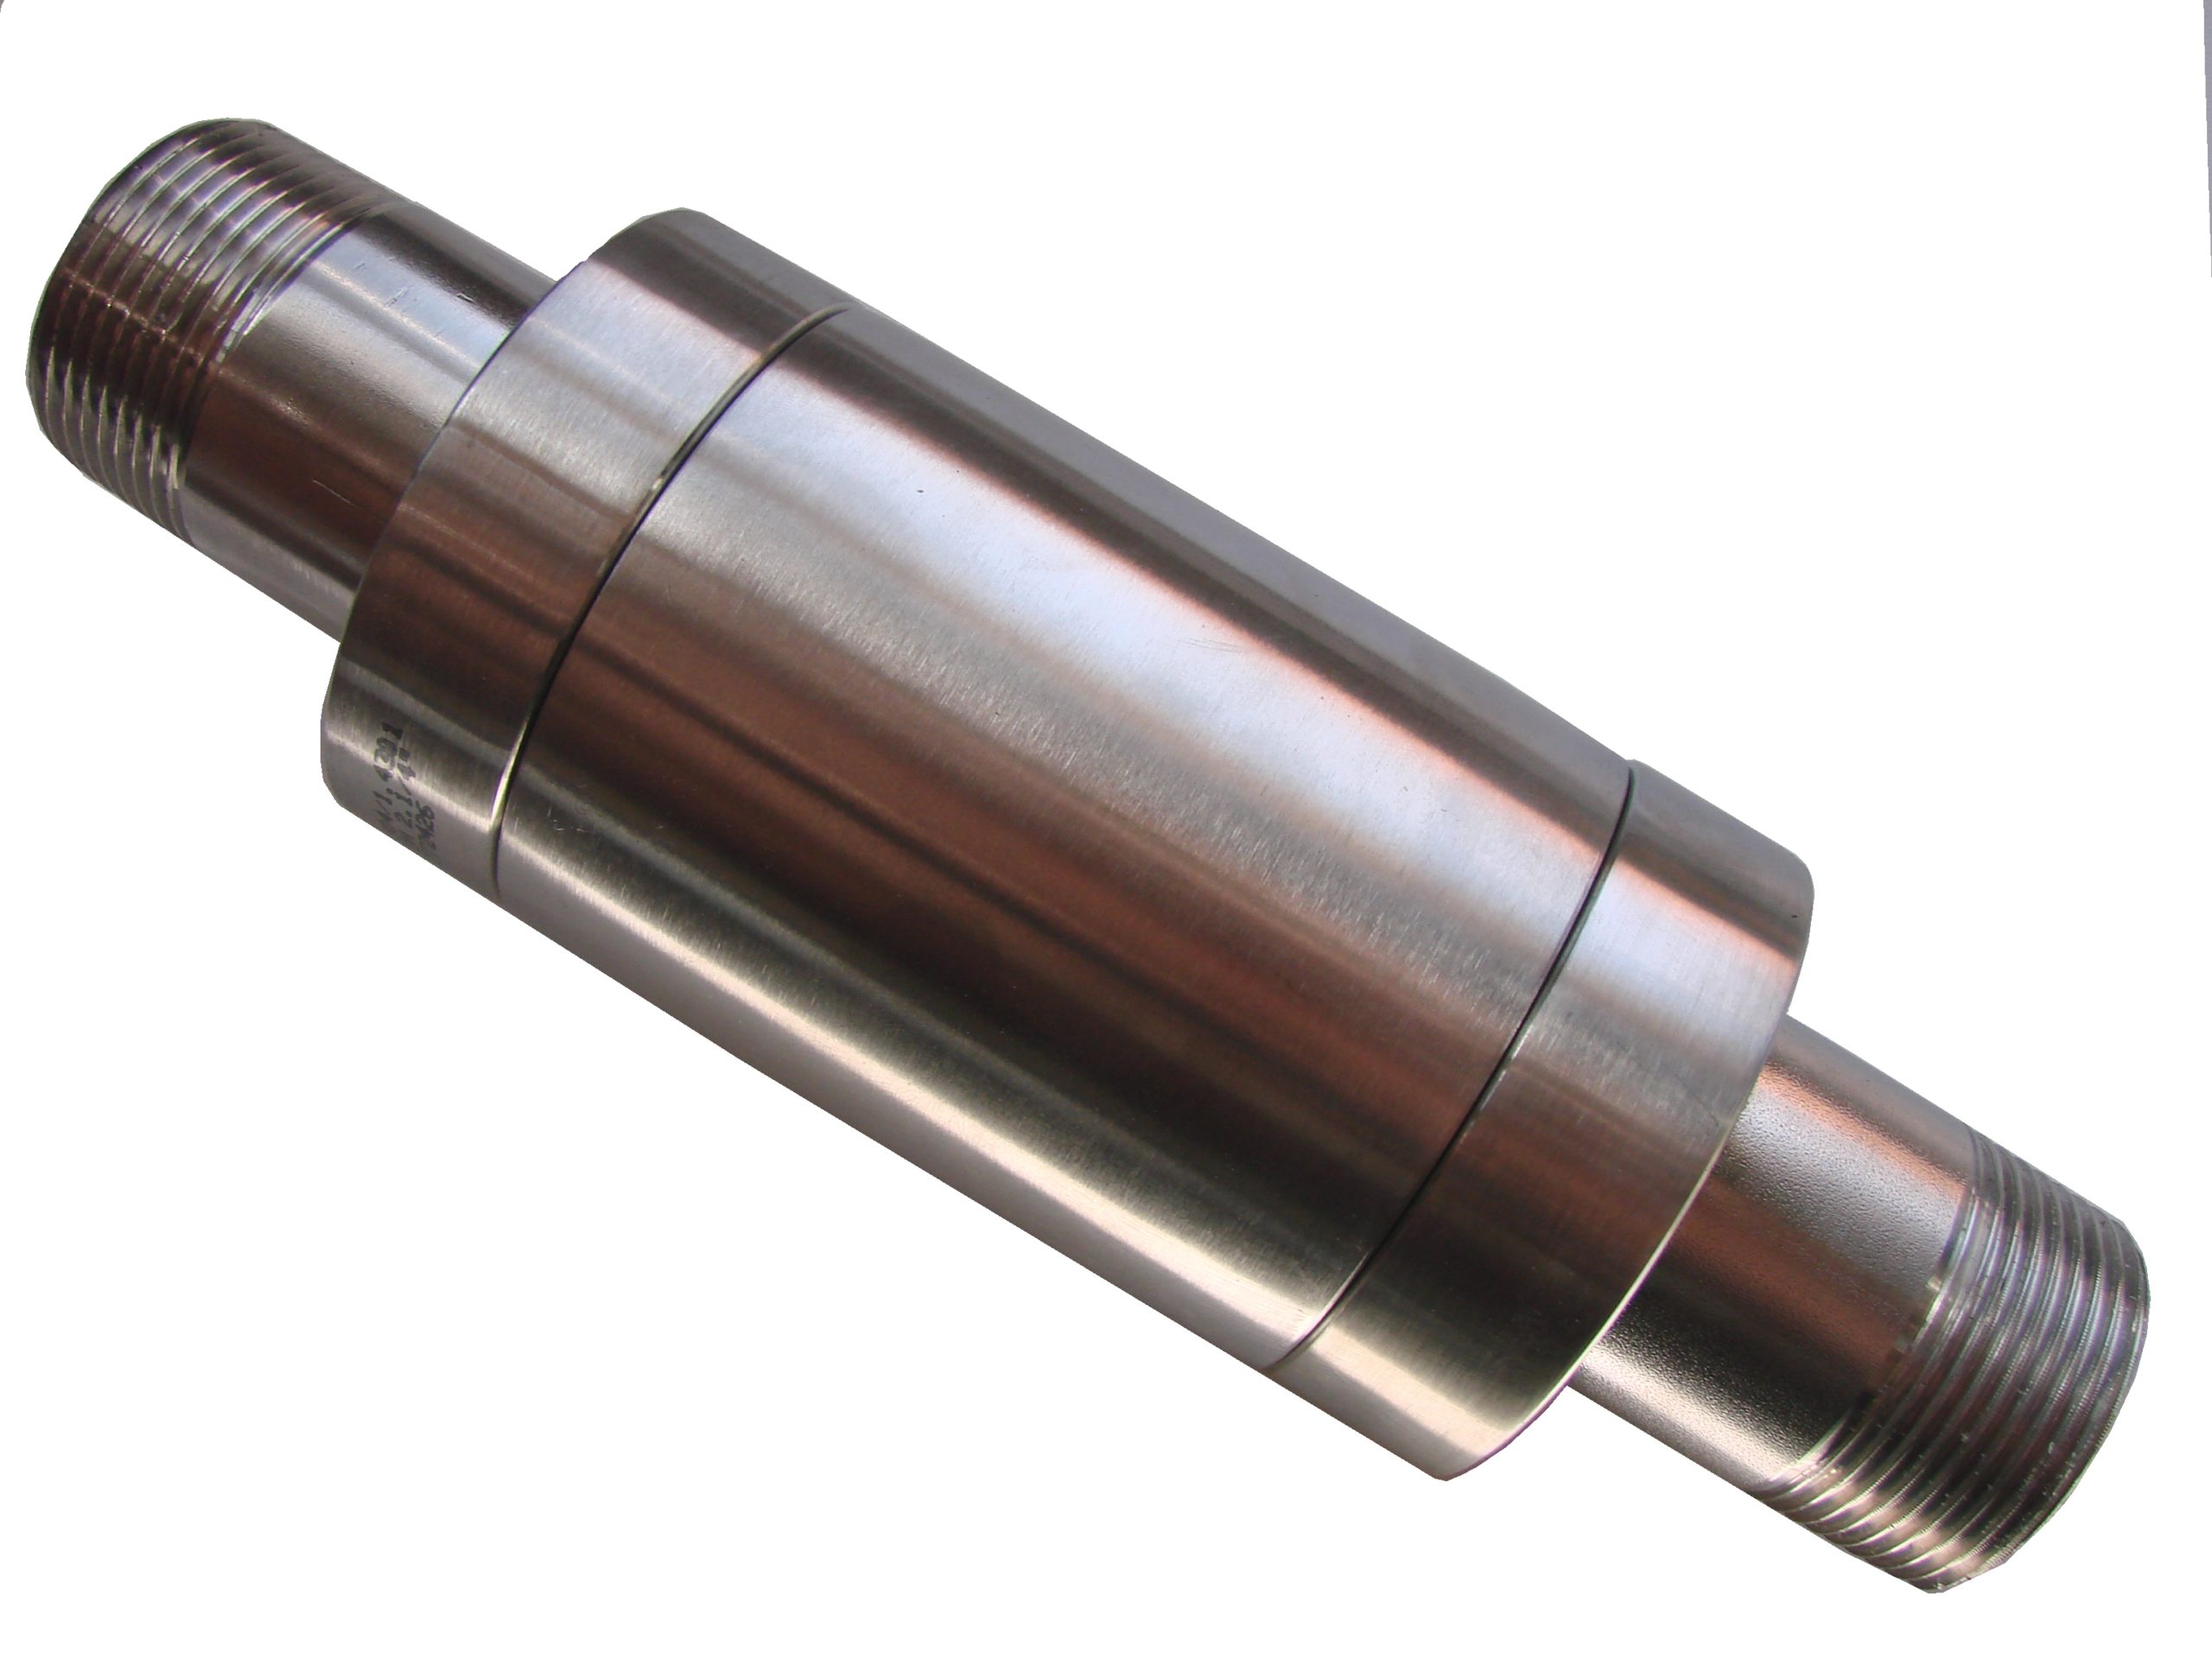
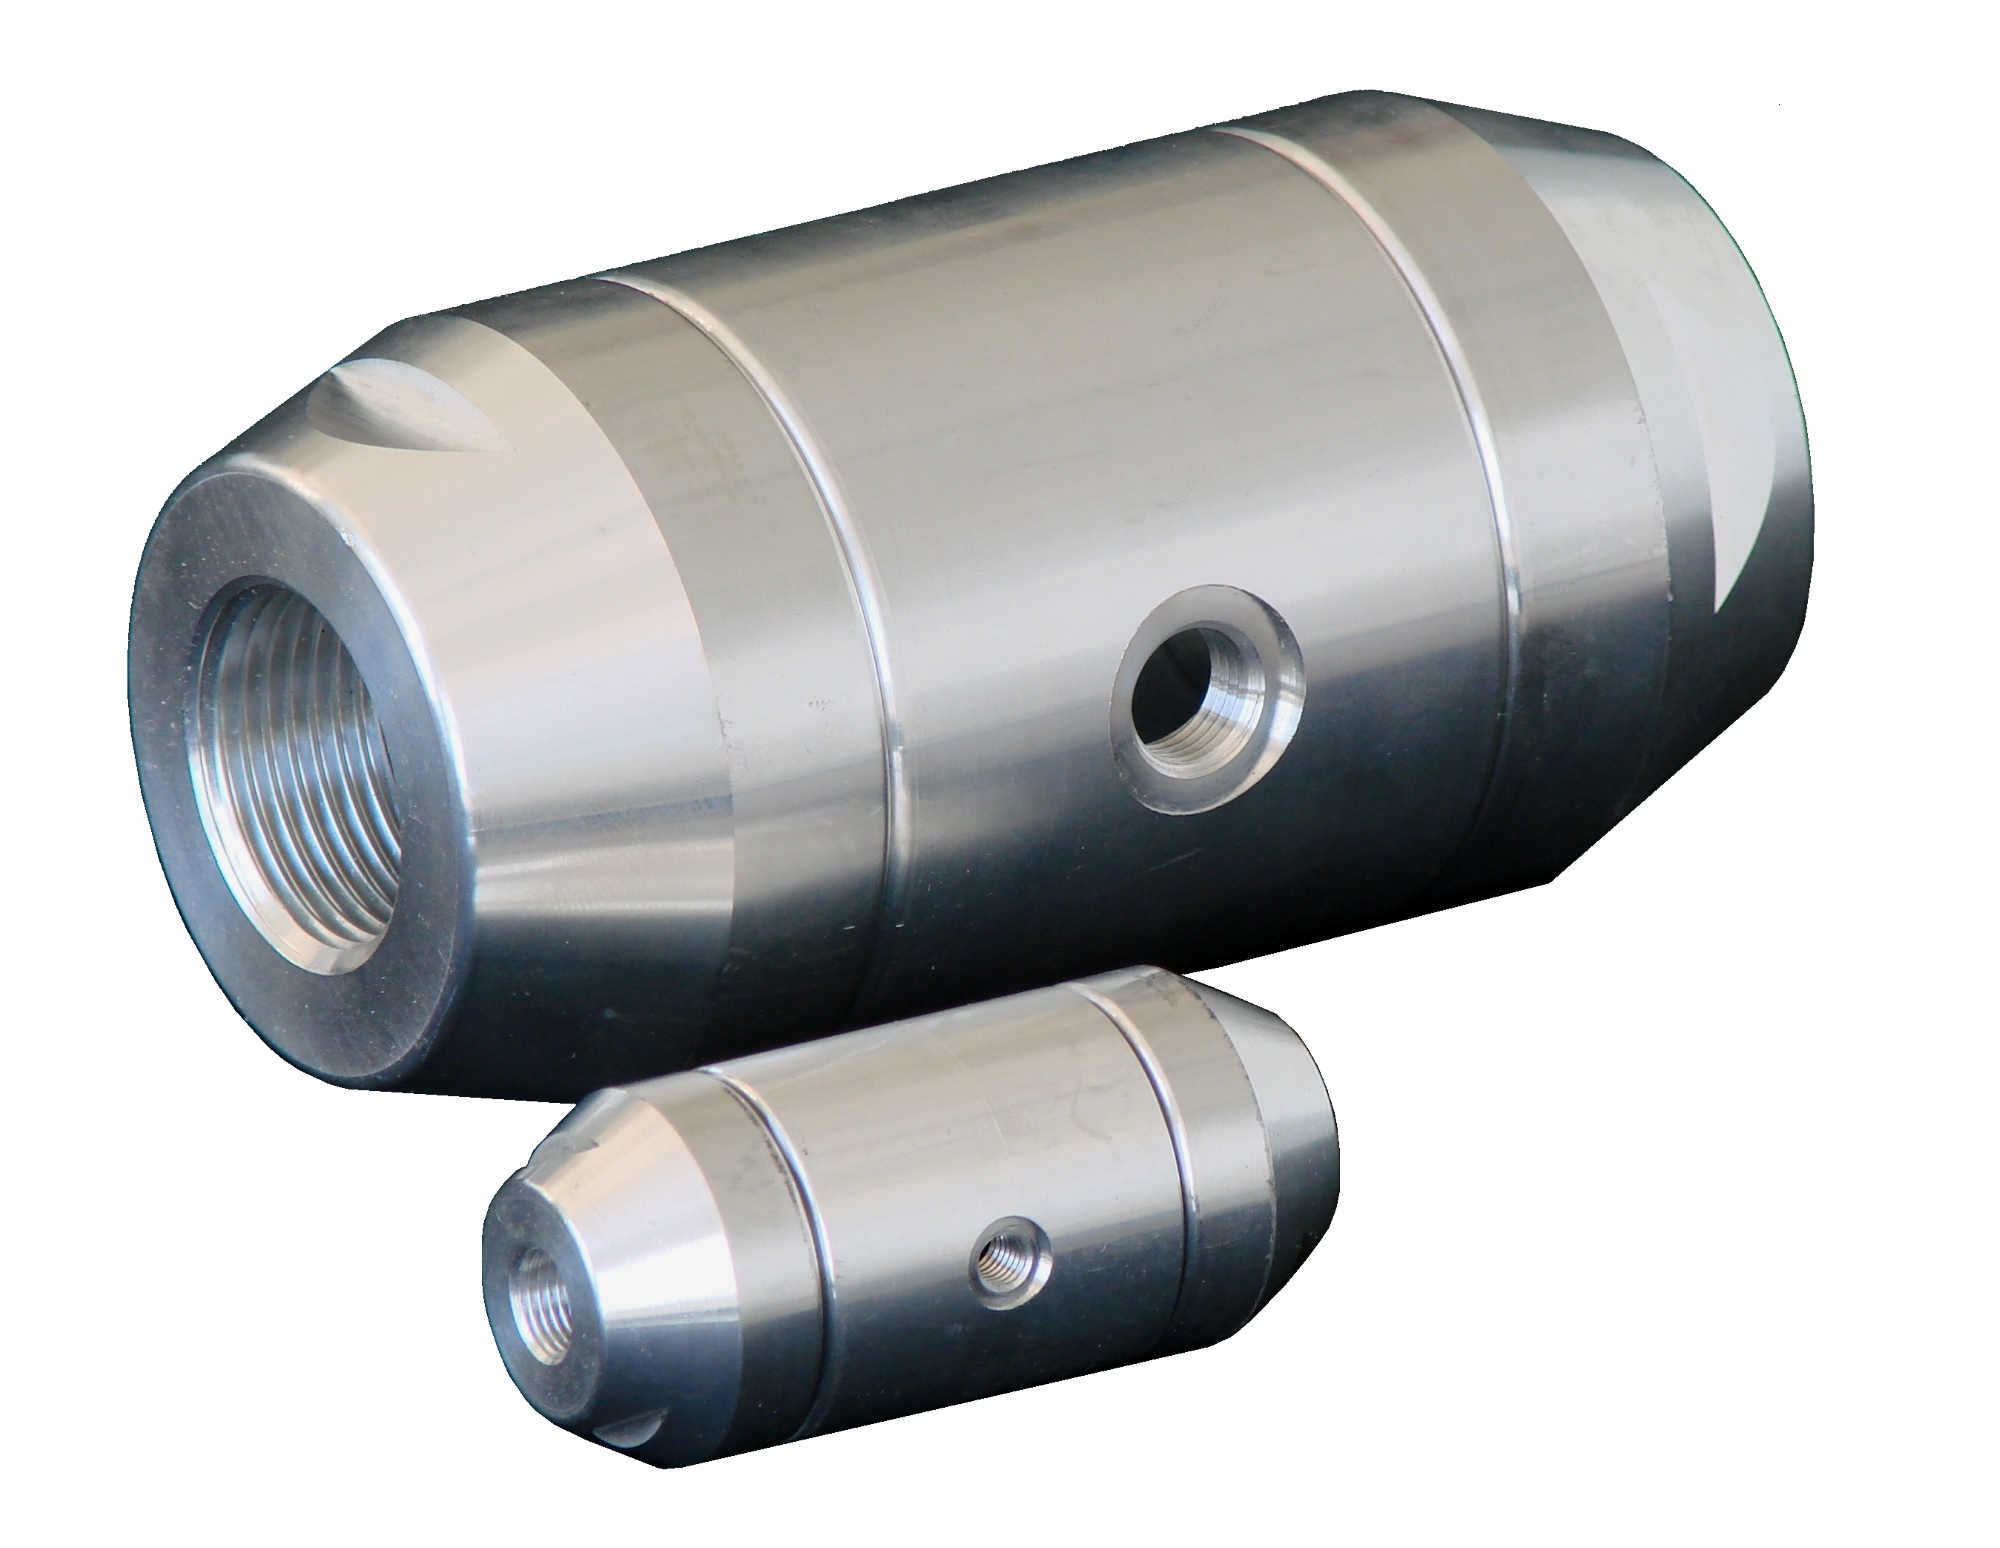
Very often there are questions about the differences and the use of the two (most important) pipe thread types EN 10226-1 / ISO 7-1 and EN ISO 228-1.
For this reason a few explanations of these pipe threads are given below. (If you are looking for information on "dairy pipe threads" according to DIN 11851, please use the link to the corresponding page.)
Area of application
Pipe threads acc. EN 10226-1 / ISO 7-1 for thread sealing connections
The male thread is conical and seals when screwed into the cylindrical female thread. Hemp, teflon tape or sealing adhesive are used as sealing aids.
Tightness is achieved by a metallic connection between the thread flanks of the conical male thread and the cylindrical female thread, which is optimized by sealing aids. The production of the threaded connection requires know-how and practice.
Due to the large tolerances of the two threads, the screw-in depth can vary greatly. When combining external threads at the lower tolerance limit and internal threads at the upper tolerance limit, please do not produce the "missing" screw-in depth by increasing screw-in forces!
EN 10226-1 replaces the former DIN 2999, BS 21, ...
Pipe threads acc. EN ISO 228-1 for connections that do not seal in the thread ("fastening thread").
The tightness can only be produced by flat gaskets or O-rings.
In the meantime, the thread connection can also be made with special sealing adhesives for smaller diameters - but this was never the aim of this pipe thread standard for fastening threads!
EN ISO 228-1 replaces the former DIN 256.


Pipe thread characteristics
The following table shows the (current) designations of the two thread types.
| EN 10226-1 |
EN ISO 228-1 |
|||
| "Connection thread" | "Fastening thread" | |||
| Female thread | Male thread | Female thread | Male thread | |
| cylindircal | cnical | cylindircal | cylindircal | |
| Designation | Rp 1" | R 1" | G 1" | G 1" |
Note: The male thread DIN ISO 228-1 can be manufactured in two tolerance classes (A and B).
What threads are produced at KVT?
Die KVT GmbH fertigt in der Regel alle Innengewinde und alle Außengewinde, die für den Anschluss von Rohren gedacht sind, entsprechend DIN EN 10226-1. Falls Sie Gewinde nach EN ISO 228-1 benötigen sollten, fragen Sie bitte an!
Can threads according to DIN EN 10226-1 and DIN ISO 228-1 be connected with each other?
Without special measures: No!
Screwing a cylindrical male thread according to EN 228 ("G") into a cylindrical female thread according to EN 10226 ("Rp") only works if the tolerance field of the male thread is restricted. This is done by some fitting manufacturers.
However, this connection does not result in a sealing connection unless special measures are taken.
DIN EN 10226-1: Pipe threads where pressure tight joints are made on the threads - Part 1: Taper external threads and parallel internal threads - Dimensions, tolerances and designation)
|
Nominal thread size |
Number of pitches on 25.4 mm |
Pitch | Thread-profile height | Outside diameter knife (in the test plane) d = D |
Medium screw-in | Usable thread length for nominal test length min. |
| mm | mm | mm | mm | mm | ||
| 1/16 | 28 | 0,907 | 0,581 | 7,723 | 2,5 | 6,5 |
| 1/8 | 28 | 0,907 | 0,581 | 9,728 | 2,5 | 6,5 |
| 1/4 | 19 | 1,337 | 0,856 | 13,157 | 3,7 | 9,7 |
| 3/8 | 19 | 1,337 | 0,856 | 16,662 | 3,7 | 10,1 |
| 1/2 | 14 | 1,814 | 1,162 | 20,955 | 5 | 13,2 |
| 3/4 | 14 | 1,814 | 1,162 | 26,441 | 5 | 14,5 |
| 1 | 11 | 2,309 | 1,479 | 33,249 | 6,4 | 16,8 |
| 1 1/4 | 11 | 2,309 | 1,479 | 41,91 | 6,4 | 19,1 |
| 1 1/2 | 11 | 2,309 | 1,479 | 47,803 | 6,4 | 19,1 |
| 2 | 11 | 2,309 | 1,479 | 59,614 | 7,5 | 23,4 |
| 2 1/2 | 11 | 2,309 | 1,479 | 75,184 | 14 | 26,7 |
| 3 | 11 | 2,309 | 1,479 | 87,884 | 17,1 | 29,8 |
| 4 | 11 | 2,309 | 1,479 | 113,03 | 21,9 | 35,8 |
| 5 | 11 | 2,309 | 1,479 | 138,43 | 25,1 | 40,1 |
| 6 | 11 | 2,309 | 1,479 | 163,83 | 25,1 | 40,1 |
DIN EN ISO 228-1:Pipe threads where pressure-tight joints are not made on the threads - Part 1: Dimensions, tolerances and designation (ISO 228-1:2000); German version EN ISO 228-1)
Dimensions for external threads DIN EN ISO 228-1:
| Outside- diameter d |
Flank diameter d2 |
||||
|
Nominal |
d max |
d min |
d2 max |
d2 min |
d2 min |
| 1/16 | 7,723 | 7,509 | 7,142 | 7,035 | 6,928 |
| 1/8 | 9,728 | 9,514 | 9,147 | 9,04 | 8,933 |
| 1/4 | 13,157 | 12,907 | 12,301 | 12,176 | 12,051 |
| 3/8 | 16,662 | 16,412 | 15,806 | 15,681 | 15,556 |
| 1/2 | 20,955 | 20,671 | 19,793 | 19,651 | 19,509 |
| 5/8 | 22,911 | 22,627 | 21,749 | 21,607 | 21,465 |
| 3/4 | 26,441 | 26,157 | 25,279 | 25,137 | 24,995 |
| 7/8 | 30,201 | 29,917 | 29,039 | 28,897 | 28,755 |
| 1 | 33,249 | 32,889 | 31,77 | 31,59 | 31,41 |
| 1 1/8 | 37,897 | 37,537 | 36,418 | 36,238 | 36,058 |
| 1 1/4 | 41,91 | 41,55 | 40,431 | 40,251 | 40,071 |
| 1 1/2 | 47,803 | 47,443 | 46,324 | 46,144 | 45,964 |
| 1 3/4 | 53,746 | 53,386 | 52,267 | 52,087 | 51,907 |
| 2 | 59,614 | 59,254 | 58,135 | 57,955 | 57,775 |
| 2 1/4 | 65,71 | 65,276 | 64,231 | 64,014 | 63,797 |
| 2 1/2 | 75,184 | 74,75 | 73,705 | 73,488 | 73,271 |
| 2 3/4 | 81,534 | 81,1 | 80,055 | 79,838 | 79,621 |
| 3 | 87,884 | 87,45 | 86,405 | 86,188 | 85,971 |
| 3 1/2 | 100,33 | 99,896 | 98,851 | 98,634 | 98,417 |
| 4 | 113,03 | 112,596 | 111,551 | 111,334 | 111,117 |
| 4 1/2 | 125,73 | 125,296 | 124,251 | 124,034 | 123,817 |
| 5 | 138,43 | 137,996 | 136,951 | 136,734 | 136,517 |
| 5 1/2 | 151,13 | 150,696 | 149,651 | 149,434 | 149,217 |
| 6 | 163,83 | 163,396 | 162,351 | 162,134 | 161,917 |
Dimensions for internal threads DIN EN ISO 228-1:
| Flank diameter D2 | Bore diameter D1 |
|||
| Nominal thread size |
D2 min |
D2 max |
D1 min |
D1 max |
| 1/16 | 7,142 | 7,249 | 6,561 | 6,843 |
| 1/8 | 9,147 | 9,254 | 8,566 | 8,848 |
| 1/4 | 12,301 | 12,426 | 11,445 | 11,89 |
| 3/8 | 15,806 | 15,931 | 14,95 | 15,395 |
| 1/2 | 19,793 | 19,935 | 18,631 | 19,172 |
| 5/8 | 21,749 | 21,891 | 20,587 | 21,128 |
| 3/4 | 25,279 | 25,421 | 24,117 | 24,658 |
| 7/8 | 29,039 | 29,181 | 27,877 | 28,418 |
| 1 | 31,77 | 31,95 | 30,291 | 30,931 |
| 1 1/8 | 36,418 | 36,598 | 34,939 | 35,579 |
| 1 1/4 | 40,431 | 40,611 | 38,952 | 39,592 |
| 1 1/2 | 46,324 | 46,504 | 44,845 | 45,485 |
| 1 3/4 | 52,267 | 52,447 | 50,788 | 51,428 |
| 2 | 58,135 | 58,315 | 56,656 | 57,296 |
| 2 1/4 | 64,231 | 64,448 | 62,752 | 63,392 |
| 2 1/2 | 73,705 | 73,922 | 72,226 | 72,866 |
| 2 3/4 | 80,055 | 80,272 | 78,576 | 79,216 |
| 3 | 86,405 | 86,622 | 84,926 | 85,566 |
| 3 1/2 | 98,851 | 99,068 | 97,372 | 98,012 |
| 4 | 111,551 | 111,768 | 110,072 | 110,712 |
| 4 1/2 | 124,251 | 124,468 | 122,772 | 123,412 |
| 5 | 136,951 | 137,168 | 135,472 | 136,112 |
| 5 1/2 | 149,651 | 149,868 | 148,172 | 148,812 |
| 6 | 162,351 | 162,568 | 160,872 | 161,512 |
- The measurement of pipe threads is complicated by the fact that the measurement in inches refers to the inside diameter of the pipe.
- For this reason, we have created a pipe thread ruler that makes it very easy to distinguish between the different threads.
- Instructions for measuring with the pipe thread ruler.

Links for more informations about threads:
- These standards are available at www.dinmedia.de.
- Dimensions of pipe threads: Das "zöllige" Rohr
- Threads acc. DIN 11851
Note for links to external Internet pages: We have no influence on the design and content of the linked pages. For illegal, incorrect or incomplete contents and especially for damages resulting from the use or non-use of such information, only the provider of the page to which reference is made is liable, not the person who merely refers to the respective publication via links. Please also note the information on data protection on the linked pages.